
Beginner Home Carpentry: Tools, Joints & 5 Projects
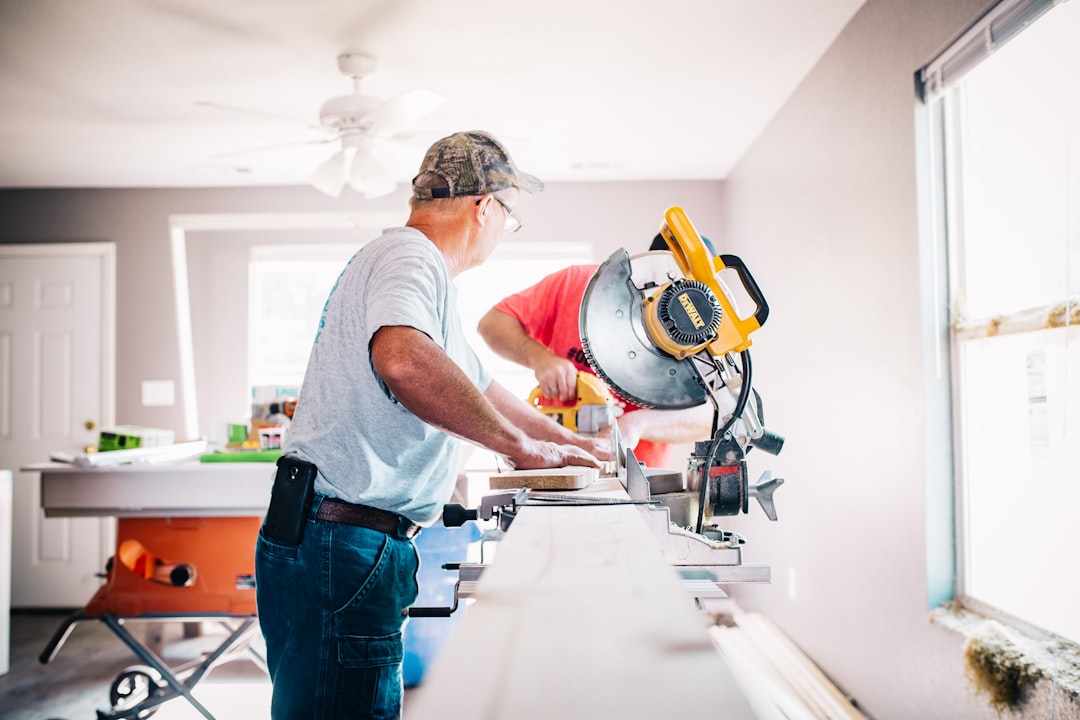
Picture this: you're standing in the lumber aisle at 9:47 on a Saturday, cart already holding a router you watched one YouTube video about, three kinds of sandpaper you can't tell apart, and a 2x4 you picked up because it looked friendly. The fluorescent lights hum. A guy in a vest walks past with purpose. You, meanwhile, are one impulse purchase away from what I call Tool-Hoard Delay — the specific psychological condition where buying equipment feels like progress even though you haven't cut a single straight line. I did this for two years. Two. I owned a miter saw before I owned the confidence to use a tape measure without second-guessing myself like it was a lie detector test.
Home carpentry for beginners doesn't require a cathedral workshop or a trust fund at the tool store. According to Hods Woodworking Guide, a cordless drill, a circular saw, a tape measure, a combination square, and about $30 in pine lumber is enough to build your first project this weekend. That's less than a nice dinner out — and unlike dinner, the shelf you build will still be holding your stuff in five years. Probably. If you square your corners. We'll get to the wobble problem.
The $150 Starter Kit (And the Stuff You Can Ignore for Now)
Imagine your tool budget as a video game inventory with exactly four inventory slots — because that's basically what Plank & Build found when they priced a real beginner kit: a corded circular saw (~$59), a cordless drill/driver (~$69), a speed square (~$10), and a 25-foot tape measure (~$8). Total: $146 new, or roughly $78 if you haunt Facebook Marketplace like a slightly desperate raccoon. Hods adds clamps and a combination square to that core list, landing around $150 for five essentials that cover the overwhelming majority of first-year projects.
The math on year-one spending is more honest than most hobby blogs admit. Plank & Build puts realistic total investment at about $600: $150 for starter tools, $200 for lumber across five or six builds, $100 for a sander and extra clamps, and $150 for a pocket hole jig once you've earned the right to care about joints that don't embarrass you. Compare that to Ana White's full recommended kit at $900–$1,100 — that's the "I want to build everything in my house" tier, not the "I want to stop wobbling" tier.
What to skip at first: the table saw, the router, the jointer, the planer, and whatever random specialty gadget TikTok convinced you that you need. The single biggest reason beginners never start, according to Plank & Build, is buying too many tools before building anything. I am that statistic. I had a router before I had a project. The router sat in its box judging me for eighteen months.
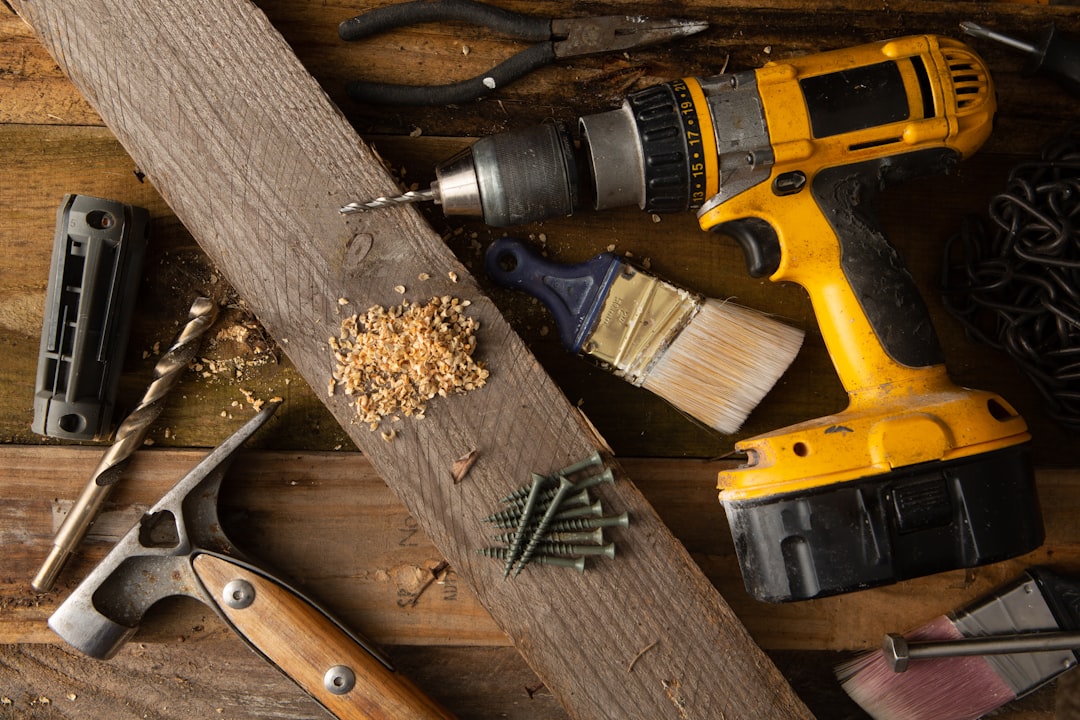
The one bonus purchase that separates "close enough" from "actually square": clamps. Four 12-inch bar clamps for about $24. Plank & Build calls them the single most important add-on because they hold your work while glue dries and while you realize your first assembly was slightly off by the width of a human hair — which, in woodworking, might as well be six inches.
Four Joints That Handle 90% of Beginner Projects
Wood joinery is the art of convincing two pieces of lumber they are one piece of lumber — and according to Real Woodwork Plans, nine times out of ten when furniture wobbles, the culprit is weak joinery, not bad wood or cheap tools. Think of joint strength like handshake firmness at a job interview: a butt joint is the dead-fish handshake (600–900 PSI), a pocket hole is a confident grip (strong enough for most furniture), and a mortise-and-tenon is the kind of handshake that makes you reconsider your career choices (3,000–3,500 PSI). You don't need the career-ending handshake yet.
Butt joints
Two boards meet at a right angle. Glue and screws. Weakest option on the list — end grain doesn't bond well — but perfectly fine for rough utility shelving and your first "I just need to learn to cut straight" project. Reinforce with screws or pocket holes and stop pretending glue alone will save you.
Pocket hole joints
An angled hole, a self-tapping screw, boards pulled tight together. Kreg Tool recommends this as the simplest strong joint for beginners — and Ana White calls the Kreg pocket hole jig the single most recommended upgrade for creating strong connections with minimal setup. This is your cheat code for face frames, table aprons, and anything that needs to not wobble when your kid leans on it.
Dado joints
A groove cut into one board so another board slides in like a drawer into its slot. Excellent for bookshelves — the shelf can't pull out without breaking something, which is the kind of structural drama you want in furniture. Hods notes this covers most shelving projects.
Miter joints
Two 45-degree cuts meeting at a corner. Pretty for frames and trim. Structurally weak on their own — end grain again, the eternal villain — but fine when reinforced with splines, nails, or pocket screws. Save the miter saw splurge for when you're tired of freehanding angles that look like modern art.
Five Projects That Build Skills Like an RPG Skill Tree
Don't build a dining table first. That's like learning to drive in a semi truck during a hailstorm. Hods lays out a progression that actually respects how humans learn motor skills:
- Simple shelf (1–2 hours) — Teaches measuring, drilling, and the emotional experience of your first crooked screw hole. Pine 2x4x8 runs $3–$5 per stick. That's cheaper than most houseplants and significantly harder to kill.
- Workbench (3–4 hours) — Your first real frame. Square cuts, pilot holes, frame squaring. Plank & Build's first project, a 2x4 outdoor bench, costs about $42 in lumber and takes two hours — same skill set, slightly different furniture.
- Cutting board (2–3 hours) — Introduces sanding progression: 80 grit → 120 grit → 220 grit before finish. Use maple, walnut, or cherry here — Rogue Engineer warns never to use pine or oak for cutting boards due to porosity and toxicity concerns.
- Bookcase (4–6 hours) — Dado joints, shelf loads, the moment you understand why "square" is a moral value in carpentry.
- Garden bed (3–4 hours) — Outdoor joinery, pressure-treated or cedar lumber, a project that forgives small mistakes because dirt covers everything anyway.
Plank & Build's 90-day learning plan maps cleanly onto this: buy tools and practice cuts in week one, finish a bench in weeks two and three, add sander and clamps in month two, learn pocket holes in month three. That's three months to go from Tool-Hoard Delay to person-who-has-built-things. I wish someone had handed me that timeline instead of letting me wander the tool aisle like a lost tourist.
Wood Selection Without the Stain-Blob Apocalypse
About 80% of beginner builds use softwood — pine, fir, cedar — because it's affordable and available at any home center, per Rogue Engineer. Build Coded ranks pine as the best starter wood: Janka hardness around 380 lbf (think: firm handshake from a friendly golden retriever), costing $1.50–$4.00 per board foot, easy to cut, drill, and sand without fighting back.
Poplar is your step-up hardwood — Janka ~540 lbf, $3–$6 per board foot, machines beautifully, takes paint like it was born for it. Oak and maple are gorgeous but harder on tools and your patience; save them for when you've stopped producing what I call Wobble Tax — the hidden cost of rebuilding things because your joints were trash.
Critical pine warning: it takes stain unevenly without a pre-stain conditioner, because earlywood and latewood absorb at different rates. Skip the conditioner and you get zebra furniture. I know because I have zebra furniture in my garage. It holds tools. It does not hold dignity.
No Workshop Required — But You Do Need a Flat Surface
Ana White puts it plainly: you don't need a full workshop. A driveway or small patio is plenty — just make sure you have a level place to work. I've built shelves on a folding table in a one-car garage that also stored a kayak, a broken lawnmower, and what I'm fairly sure was a wasp convention. It worked. The shelves didn't wobble. Mostly because I finally bought clamps and checked for square before driving the last screw.
How do you make furniture that doesn't wobble? Three things: square your frame before fastening (measure diagonals — if they match, you're square), use clamps during assembly, and choose joints appropriate to the load. Butt joints alone on a bookshelf are a bet you will lose. Pocket holes or dados earn their keep. And wear safety gear before anything else — Kreg Tool lists safety glasses, hearing protection, and dust protection as non-negotiable. A trip to the ER costs more than every tool in this article combined.
Start This Weekend
You don't need permission, a workshop, or a $1,100 tool collection. You need four tools, one board of pine, and the willingness to build something slightly imperfect on the first try. According to Hods, that's enough to finish a project this weekend — not someday, not when you've watched forty more videos, this weekend. The wobble will teach you. The clamps will save you. And the router can wait in the store where it belongs, next to the guy with the purposeful walk who definitely started exactly where you are standing right now.