
Kitchen Backsplash Trends 2026: What Actually Works
I was standing in my kitchen last Tuesday, holding a zellige sample that cost more per square foot than my first car's monthly payment, when it hit me that backsplash decisions are basically a personality test you fail in slow motion — because you're not picking a wall decoration, you're picking the thing that will stare back at you every time you burn garlic at 11 p.m. and pretend it was intentional. The 2026 kitchen backsplash landscape has shifted hard: we're in what I call the Slab Supremacy Era, where one continuous sheet of stone runs from counter to ceiling like someone deleted the concept of grout lines entirely, and if you're renovating now, you need to know what's actually trending, what it'll cost, and which mistakes will haunt you for a decade.
Here's everything I dug up — backed by actual industry data, not Pinterest fever dreams — so you can make this call without becoming another Grout Regret statistic.
What's Trending in 2026 (And What's Already Dated)
According to the 2026 U.S. Houzz Kitchen Trends Study, slab backsplashes now account for 28% of all backsplashes in renovated kitchens — roughly one in every four remodels, which is wild when you consider subway tile ruled kitchens for two decades like it had a permanent lease. Slab backsplashes are overtaking traditional subway and mosaic tile because they look seamless and high-end, like someone wrapped your kitchen in a single expensive skin.
Good Housekeeping calls large-scale stone slabs the biggest backsplash trend of 2026, with designers adding curve-cut details, integrated stone shelves, and ogee trim finishes. As one designer put it:
"The continuity of material feels elevated, seamless, and both modern and timeless."
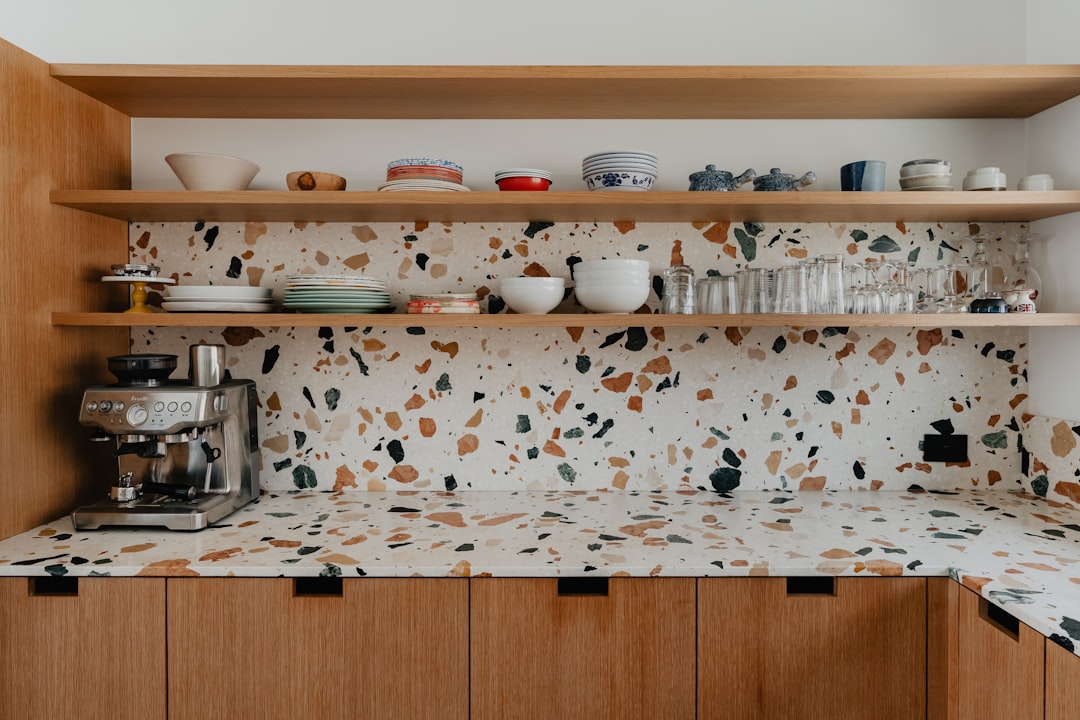
But slabs aren't the whole story. Zellige tile — handmade Moroccan clay with that organic, slightly uneven sheen — is one of the top client requests right now, running $15–$45 per square foot according to design expert Kaitlin Madden. Hand-painted specialty tiles and Delft tiles (those centuries-old blue floral patterns) are making a modern comeback. Scalloped-edge slab backsplashes add cottage-y detail to otherwise sleek kitchens — imagine a stone waterfall with a decorative hem.
The NKBA's 2026 Kitchen Trends Report, based on feedback from 634 industry professionals across North America, tracks backsplash trends through an adoption curve: emerging, growing, mainstream, or in decline. Their 11 core themes — whole-home continuity, seamless design, organic aesthetics — all point the same direction: less visual noise, more material sophistication. Subway tile with dark contrast grout? That's the outfit equivalent of wearing bootcut jeans to a 2026 wedding. It had its moment. That moment is over.
Should Your Backsplash Match Your Countertops?
Short answer from the pros: yes, especially if you're going slab. Better Homes & Gardens reports that designers recommend matching slab backsplash material to countertops for visual continuity — same stone, same vein pattern, one uninterrupted surface climbing your wall like it grew there naturally.
But here's where you get to have fun: change the finish on your kitchen island. Steel, zinc, copper, even a different marble on the island keeps things from looking like a stone box. Worried about dating your kitchen? Lighter cream-colored slabs carry less risk than dark slabs, which can look very "2023 luxury condo lobby" in five years.
For tile backsplashes, matching isn't mandatory — a mixed-media approach (simple tile everywhere, bold statement tile behind the stove) is a budget-friendly trend Madden highlights. The key is intentional contrast, not accidental chaos.
The Grout Color Question Nobody Wants to Answer Honestly
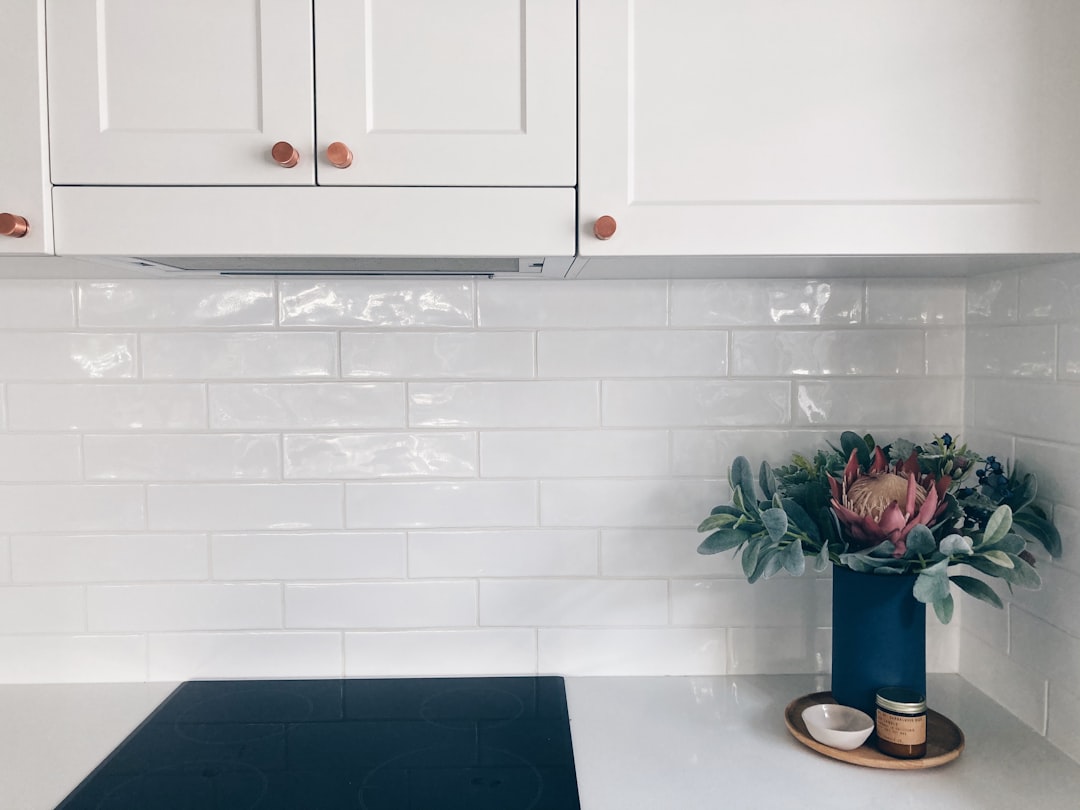
White grout is dying. Only 12% of new 2025 installs used it, per Precision Tile & Grout — because white grout behind a stove looks dingy within six months, like someone sneezed cooking spray at your wall permanently. Dark grout in the same spot can go two years looking fresh. Colored grout usage jumped 40% year-over-year, and 68% of homeowners now choose grout at least two shades different from their tile for contrast.
My pick for the Grout Regret Window avoidance strategy: medium gray (Delorean Gray #19 is the industry darling). It's the Switzerland of grout colors — hides splatter, works with warm and cool palettes, won't scream for attention. High-contrast grout lines can distract from beautiful tile, as Martha Stewart notes — tone-on-tone or larger-format tiles with blending grout give you a cleaner look. I chose white grout once. I am still paying for that decision emotionally every Sunday scrub session.
What Cleans Easiest, and What Will It Cost You?
Easiest to clean: large-format slab or porcelain tile with minimal grout lines. Grout is the enemy — it's basically a porous sponge mounted at eye level behind your stove. Fewer seams means fewer places for tomato sauce to set up permanent residency. Sealed ceramic and porcelain wipe down fast. Zellige is gorgeous but its handmade texture catches grime in ways smooth tile doesn't — beauty tax, basically.
On cost: Angi (HomeAdvisor) puts average professional kitchen backsplash installation at $1,000, ranging from $480 to $1,500 for a typical 35 sq ft area — that's $15 to $40 per square foot installed. Marble can hit $4,500. Labor runs $5–$20 per sq ft for standard patterns; herringbone and complex layouts jump to $100/hour. Pro installation takes about two days.
Fix Up First breaks down 2026 pricing further: a typical 30 sq ft backsplash costs $600–$3,500 installed ($20–$120/sq ft). DIY ceramic subway tile materials run $300–$700, saving $450–$750 in labor versus hiring a pro. Handmade zellige installed: $50–$100/sq ft. Standard ceramic subway installed: $15–$30/sq ft. Picture it this way — pro install on a 35 sq ft backsplash is roughly the cost of a decent weekend trip; DIY is the cost of a nice dinner out plus three days of your life and possibly your lower back.
DIY or Pro? And Is Peel-and-Stick Worth the Hype?
Can you install backsplash yourself? Yes — if you have patience, a level, and the ability to not throw a trowel across the room when tile #47 is 2mm off. DIY typically takes 3–4 days including mortar and grout drying time, versus about two days for a pro. The savings are real ($450–$750 in labor on a basic ceramic job), but Fix Up First flags the usual DIY casualties: wrong thinset type, missing outlet extenders, unsealed cement grout. I've watched friends discover their outlets are now recessed half an inch into the wall like secret panels. Not ideal.
The Install Sequence (Get This Wrong and Nothing Else Matters)
- Prep the wall. Clean, flat, dry — patch holes, and install cement board if you're tiling over drywall in a wet zone.
- Dry-fit your layout. Start from the center of your focal point and work outward so cut tiles hide in corners, not dead center behind your stove.
- Mix and trowel thinset. Match the thinset type to your tile (porcelain needs modified thinset; natural stone has its own rules) and use the correct trowel notch size.
- Set tiles with spacers. Check level constantly — gravity is not your friend here.
- Extend outlets before thinset cures. This is the step everyone skips and regrets. Box extenders are cheap; recessed outlets are a daily annoyance.
- Grout after 24 hours, then seal. Cement grout needs sealing or it becomes a stain magnet. Epoxy grout skips the seal step but costs more and sets faster — plan accordingly.
Peel-and-stick backsplash runs $5–$15 per sq ft (DIY only) and lasts 3–7 years — which sounds fine until you realize that's shorter than most phone contracts. Martha Stewart warns that peel-and-stick tile stains and peels over time, especially near heat and moisture, and can damage the wall underneath when removed. It cannot replicate the texture and depth of real tile. Worth it for a rental or a "I need this done before Thanksgiving" emergency? Maybe. Worth it as a permanent kitchen solution? That's like putting duct tape on a leaky pipe and calling it plumbing.
Five Backsplash Mistakes That Will Haunt Your Kitchen
I've catalogued these as the Five Walls of Shame — the errors that look fine at install and then slowly betray you:
- Skipping the backsplash entirely. Even sealed walls stain and wear. Martha Stewart's blunt take: "Even when walls are sealed, they're still very prone to staining and wear. Skipping the backsplash is rarely worth the trade-off in functionality."
- Choosing white grout behind the cooking zone. See above. Six-month dingy timeline. I lived this so you don't have to.
- Going high-contrast grout on intricate tile. Your beautiful zellige becomes a crossword puzzle of grout lines.
- Using peel-and-stick in a high-heat, high-moisture zone. The adhesive doesn't know it's supposed to be permanent. It will find out.
- DIY without outlet extenders or proper thinset. Tiles pop. Outlets disappear. Grout cracks. The unholy trinity of weekend projects gone wrong.
The NKBA puts it well:
"Design decisions made in the kitchen now ripple through the rest of the home, shaping a unified aesthetic and lifestyle."
Your backsplash isn't a throwaway detail — it's the visual spine of the room you use most.
Bottom Line: Pick Your Lane
If budget allows, slab matching your countertop is the 2026 power move — seamless, timeless if you choose lighter tones, and sitting at 28% adoption which means it's mainstream enough to resell well but still feels current. If you're budget-conscious, ceramic subway with medium gray grout and a statement tile behind the stove gives you 80% of the look at 30% of the slab price. Peel-and-stick is a band-aid, not a strategy. And whatever you do, don't skip the backsplash, don't pick white grout near your stove, and for the love of your future self, extend those outlets before the thinset dries.
Your kitchen wall is going to be there every single day. Make it something you want to look at while your pasta boils over — again.